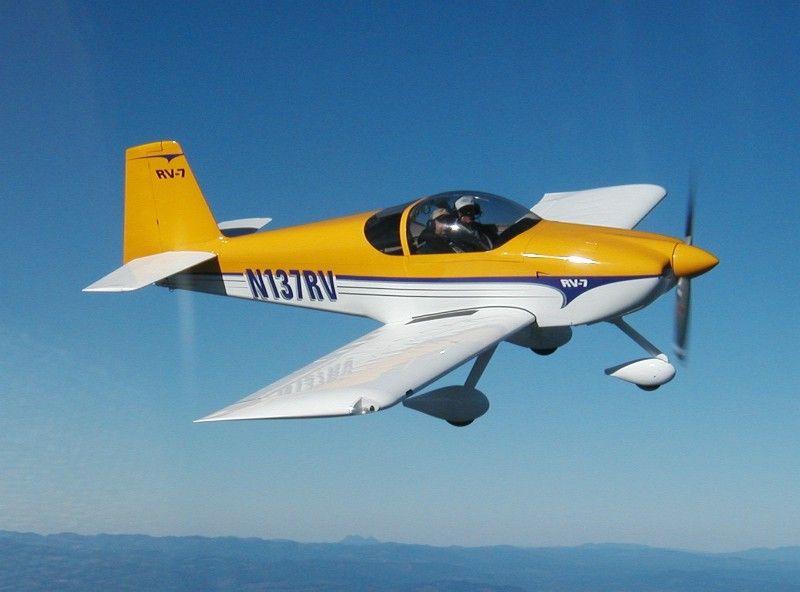
Friday, January 10, 2014

So Sorry...

I apologize if you've been following all this time.  While I have not been keeping up with my blog posts, I assure you I am vigilant in working on the RV.  So much so that the wings, both left and right, are essentially complete.  The only things left on the wings are the bottom skins and tips.  I've been putting off the bottom skins to provide optimal access for wiring and plumbing.

I have ordered the fuselage kit and it is due to ship next week.  In preparation for arrival of the fuselage kit, I have been rearranging the shop.  That includes the downstairs bedroom as well as the garage.  While the bedroom was sufficient fr the wings, the fuselage is a tad bit to big to fit.  More accurately, I could have built it downstairs, but I couldn't have gotten it out of the downstairs bedroom.

So, if you're still playing along at home, don't give up on me just yet.  :-)


Wednesday, April 24, 2013

Left Wing Almost Done

The last couple of months have been extremely productive.  Thanks to Brad for coming out over the weekend to help me rivet the top skins onto my left wing.  The whole process goes really fast with two people working together.
 
In addition to riveting the top wing skins, I've been working on the pitot tube installation and some wiring.  The flaps and ailerons (both left and right) are also coming along nicely.  In fact the left aileron is actually done.
 
I'll probably be moving the right wing spar into the wing jig in the next week or two.  I've seen so much getting done recently that I've even started thinking about ordering my fuselage kit.  I'll have to make some room in the garage as I can't build the fuselage in the current shop space.  Well, that's not entirely true.  I could build it in there, if I never planned on taking it out.
 
Top wing skins all riveted

Pitot tube installation (Dynon heated AOA\pitot)

Left flap in work


Bottom of left wing with right flap skeleton on top

Left aileron leading edge in work

Left aileron almost complete

Wednesday, April 10, 2013

Inverted Fuel Tank Modifications

I thought that having tanks fitted for inverted flight might be added value if and when I decide to sell the RV.  Let's hope that day, if it ever comes, is after many years of flying enjoyment.  Anyway, the tank modifications necessary for sustained, inverted flight are actually quite simple and could easily be done after completion, but I decided to go ahead and do the work now.

First is a "flapper" riveted to the next to last rib which acts like a check valve to keep fuel in the root bay of the wing.  Then two strips of aluminum are placed in the root bay to prevent the flop tube from getting hung up on the tank access plate platenuts or the lower skin stiffeners.

 
Preparing to rivet the flapper to the rib

I used a strip of aluminum and my ruler to ensure an
adequate gap between the flapper and the tank skin.

The flapper installed and closed

The flapper installed and open

The flop tube anti-hang-up brackets

Wednesday, April 3, 2013

Back in the Saddle Again!

I hope everyone had a great Easter weekend!

So I've actually been getting a whole lot done on the RV lately, I've just been horrible at updating my blog.  The left wing is going very well.  I recently sealed and installed all the ribs in the tank.  What a mess!!  All that's left is to install the vent line, capacitive fuel probes and flop tube.  I didn't realize until recently that flop tubes (for inverted flight) are not standard and I neglected to order mine.  As so as they arrive I can finish out the left tank.

I also ordered some other goodies for the wing which should be arriving soon. 


Inboard Fuel Tank Bay with Anti-Hang-Up Brackets

Installing and Sealing the Left Tank Ribs

Tank Sealant EVERYWHERE!

A Close-up of the Anti-hang-up Brackets Being Installed