Showing posts with label Wings. Show all posts

Wednesday, April 24, 2013

Left Wing Almost Done

The last couple of months have been extremely productive.  Thanks to Brad for coming out over the weekend to help me rivet the top skins onto my left wing.  The whole process goes really fast with two people working together.
 
In addition to riveting the top wing skins, I've been working on the pitot tube installation and some wiring.  The flaps and ailerons (both left and right) are also coming along nicely.  In fact the left aileron is actually done.
 
I'll probably be moving the right wing spar into the wing jig in the next week or two.  I've seen so much getting done recently that I've even started thinking about ordering my fuselage kit.  I'll have to make some room in the garage as I can't build the fuselage in the current shop space.  Well, that's not entirely true.  I could build it in there, if I never planned on taking it out.
 
Top wing skins all riveted

Pitot tube installation (Dynon heated AOA\pitot)

Left flap in work


Bottom of left wing with right flap skeleton on top

Left aileron leading edge in work

Left aileron almost complete

Wednesday, April 10, 2013

Inverted Fuel Tank Modifications

I thought that having tanks fitted for inverted flight might be added value if and when I decide to sell the RV.  Let's hope that day, if it ever comes, is after many years of flying enjoyment.  Anyway, the tank modifications necessary for sustained, inverted flight are actually quite simple and could easily be done after completion, but I decided to go ahead and do the work now.

First is a "flapper" riveted to the next to last rib which acts like a check valve to keep fuel in the root bay of the wing.  Then two strips of aluminum are placed in the root bay to prevent the flop tube from getting hung up on the tank access plate platenuts or the lower skin stiffeners.

 
Preparing to rivet the flapper to the rib

I used a strip of aluminum and my ruler to ensure an
adequate gap between the flapper and the tank skin.

The flapper installed and closed

The flapper installed and open

The flop tube anti-hang-up brackets

Wednesday, April 3, 2013

Back in the Saddle Again!

I hope everyone had a great Easter weekend!

So I've actually been getting a whole lot done on the RV lately, I've just been horrible at updating my blog.  The left wing is going very well.  I recently sealed and installed all the ribs in the tank.  What a mess!!  All that's left is to install the vent line, capacitive fuel probes and flop tube.  I didn't realize until recently that flop tubes (for inverted flight) are not standard and I neglected to order mine.  As so as they arrive I can finish out the left tank.

I also ordered some other goodies for the wing which should be arriving soon. 


Inboard Fuel Tank Bay with Anti-Hang-Up Brackets

Installing and Sealing the Left Tank Ribs

Tank Sealant EVERYWHERE!

A Close-up of the Anti-hang-up Brackets Being Installed


Tuesday, December 4, 2012

Tank Continues

I'm almost ready to start sealing the tank.  I got the issue with the baffle all straightened out.  I plugged the holes I had drilled in the attach brackets and repositioned the baffle using the tank skin against the wing leading edge skin and main skin.  I was then able to drill the inboard most attach bracket which sets the position of the baffle relative to the spar.  I then removed the tank skin and drilled the remaining holes in the attach brackets through the baffle.  Van's method has you slotting the holes in the baffle, but I think I prefer my method.

Double-flush Plug Repair (1/8" hole)
With the baffle position straigthened out I could move on to drilling the remaining rivet holes on the tank.  Then it was time to disassemble the tank for deburring, edge finishing and dimnpling.  As of this writing I'm about 40% done dimpling the tank sikn and done with all of the ribs.

Tank Skin During Capacitive Fuel Sender Installation
 
Capactive Fuel Sender Plate
I used a fly cutter to cut the access hole in the inboard tank rib, drilled the attach holes, and riveted the nutplates onto the rib.  All-in-all I think the tank assembly is going really well.  I think I'll be mixing my first batch of tank sealant this weekend.

Tank Nose Attach Brackets

Fuel Cap Flange with Vent Line Bracket

Inboard Tank Rib with Access Cutout


Tuesday, November 13, 2012

Tank Baffle Issues


I got the T-712 tank attach brackets all primed up and riveted the nutplates to them.  I bolted the brackets to the spar and clecoed the tank baffle to the spar.  I'm having some issues with the alignment of the baffle and tank brackets.  The outboard most rib rivet line isn't lining up with the hole in the attach bracket.

Priming the T-712 Tank Attach Brackets
Tank Baffle Clecoed in Place
Misaligned Hole Between Attach Bracket and Baffle

After discussing the issue with a fellow builder, I decided to cleco the tank skin in place with a couple of ribs.  The objective was to determine if my attach brackets were off or if the tank baffle was off.  After I got the tank skin clecoed to the bottom of the wing a clear problem presented itself.  With the baffle in its current location the tank skin is about a tenth of an inch too far inboard.


Gap Between W-709 and T-701 Skins
 
Close Up of Gap
 
I'm thinking that I need to scrap the existing tank attach brackets and redo them, but back drill through the spar into the attach brackets.  In order to ensure that the tank is in the correct position, I can cleco the tank together line up the butt joint between the two skins as well as the attach screws on the spar flange.

More to follow...

Monday, November 5, 2012

Great Weekend of Work

Got almost eight hours of work in between Sunday and Monday night.  Finished all of the drilling for the main skins and wing leading edge.  Started tank construction by back drilling the tank attach brackets through the main spare and drilling for nut plates to be installed.  After a quick clean up and some primer on the attach brackets It's on to the meat of the tank.


Left Wing (Bottom)

Left Wing (Top)

Left Tank Attach Brackets (T-712)
 
Left Tank Attach Bracket Closeup

Monday, October 22, 2012

Monday, October 22, 2012

Struggled to get up and get to the office this morning, but managed to get a couple hours in on the RV after work while I was doing some laundry.  I finished the first round of drilling on the left wing skins (top & bottom).  Ready to move the clecos over a hole and finish up match drilling.  No new pictures tonight.

Saturday, October 20, 2012

Left Wing Skin Drilling

Got the top and bottom skins clecoed onto left wing structure, and started drilling to full size.


Thursday, June 7, 2012

Left Wing Ribs Done

So I finally finished prepping the ribs for the left wing. It's a tedious job that I don't particularly care for. Now the real fun can begin.  Of course, I'll have to do it all again once I start the right wing.

Before edge finishing and straightening...


And after...


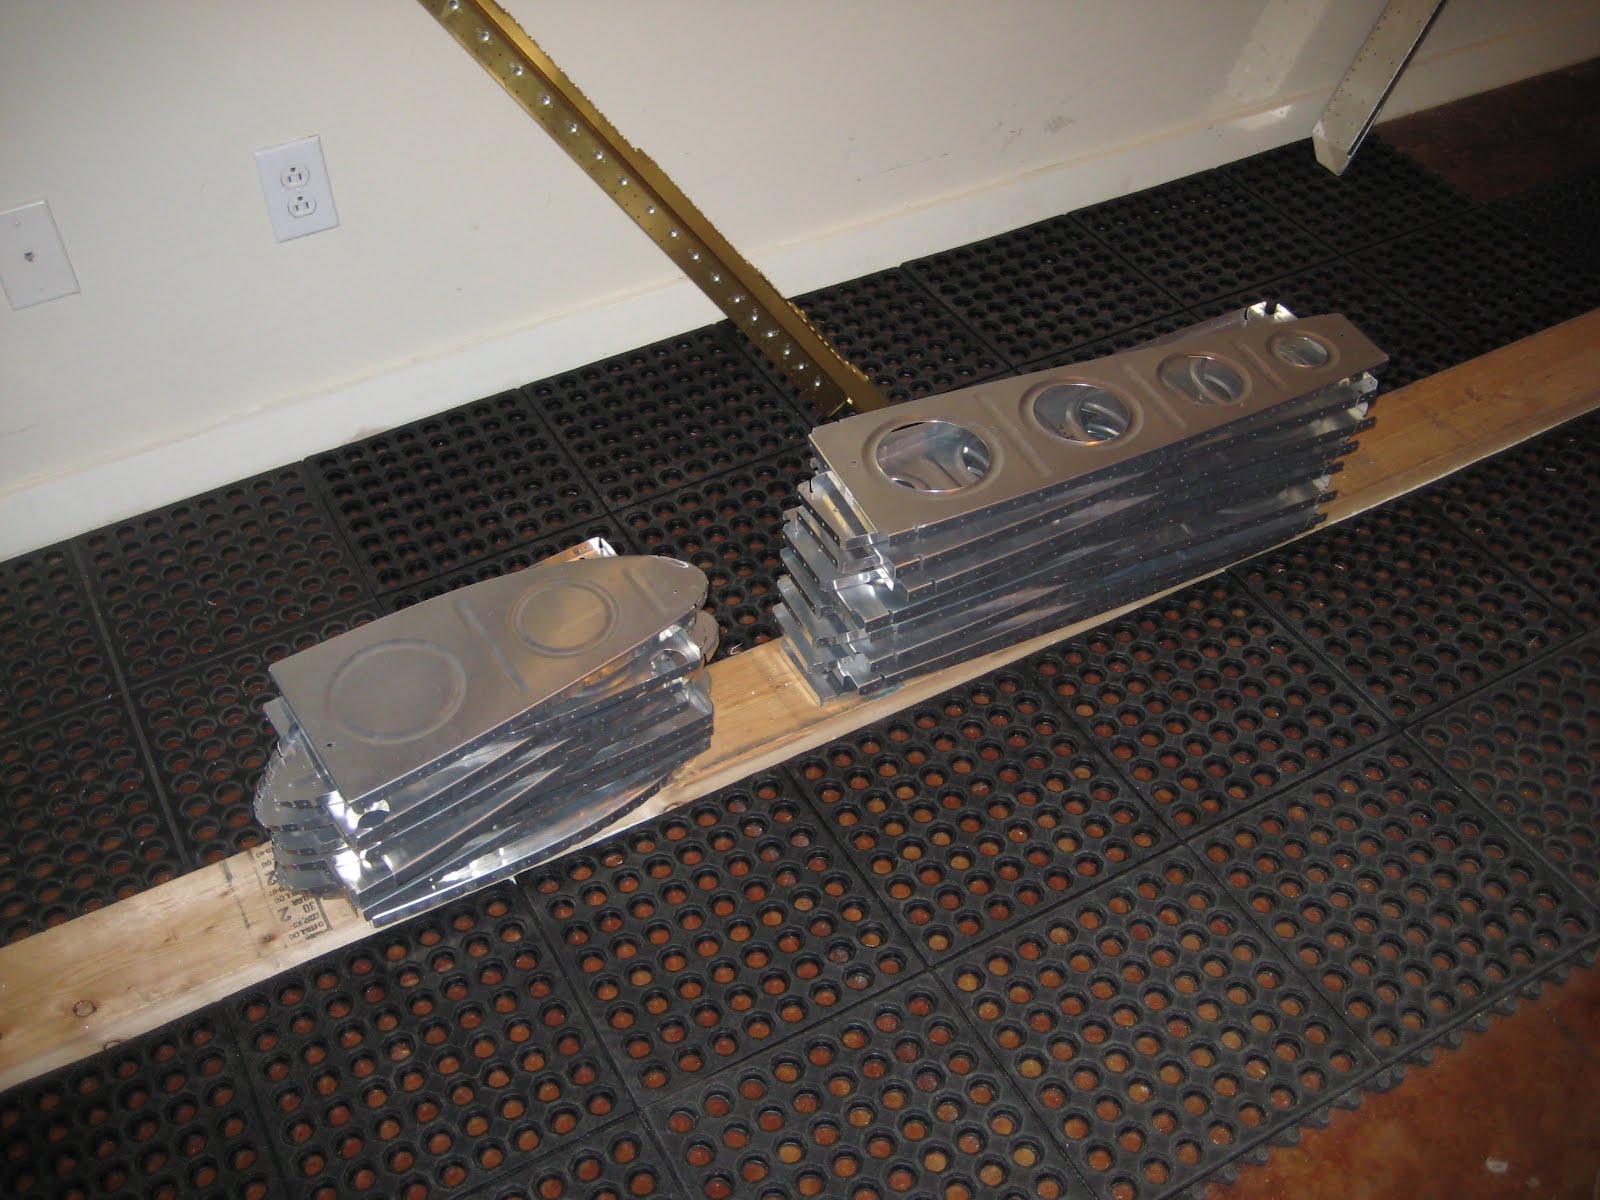
The finished stack...

Thursday, May 31, 2012

Memorial Day Marathon

My wing kit arrived just in time for the long Memorial Day weekend. I jumped right into inventory on the kit during the week, and proceeded to spend almost thirty hours in the shop. I was on such a roll I decided to take off work on Tuesday as well. Overall the left wing is proceeding well (I'm building one wing at a time). I've reached the point in the wing assembly that I was dreading. I'm in the middle of edge finishing and straightening all the wing ribs. It's not particularly exciting work, but it has to be done. I estimate that it takes 20-30 minutes to prep each rib. I'm about half way through about thrity ribs. I'm hoping I can finsih up the rib preps this weekend and maybe get into some assembly.


Monday, April 23, 2012

Wings Ordered!!

Things have been going so well on the empennage that I decided it was time to place the order for my wings. I've received confirmation back from Van's and my wing kit will ship the middle of May. The plan now is to finish up the empennage, which is about 90% now, and get the shop setup for my wings. I'm hoping to have the wing stand done and installed prior to delivery.